To connect the CH340 to an Arduino Pro mini is simple enough, however both come with 6 pin connectors, and we suply the CH340G with a 5 way cable. So what do you need to connect?
Below is an image of the two connected together which should clear that up.
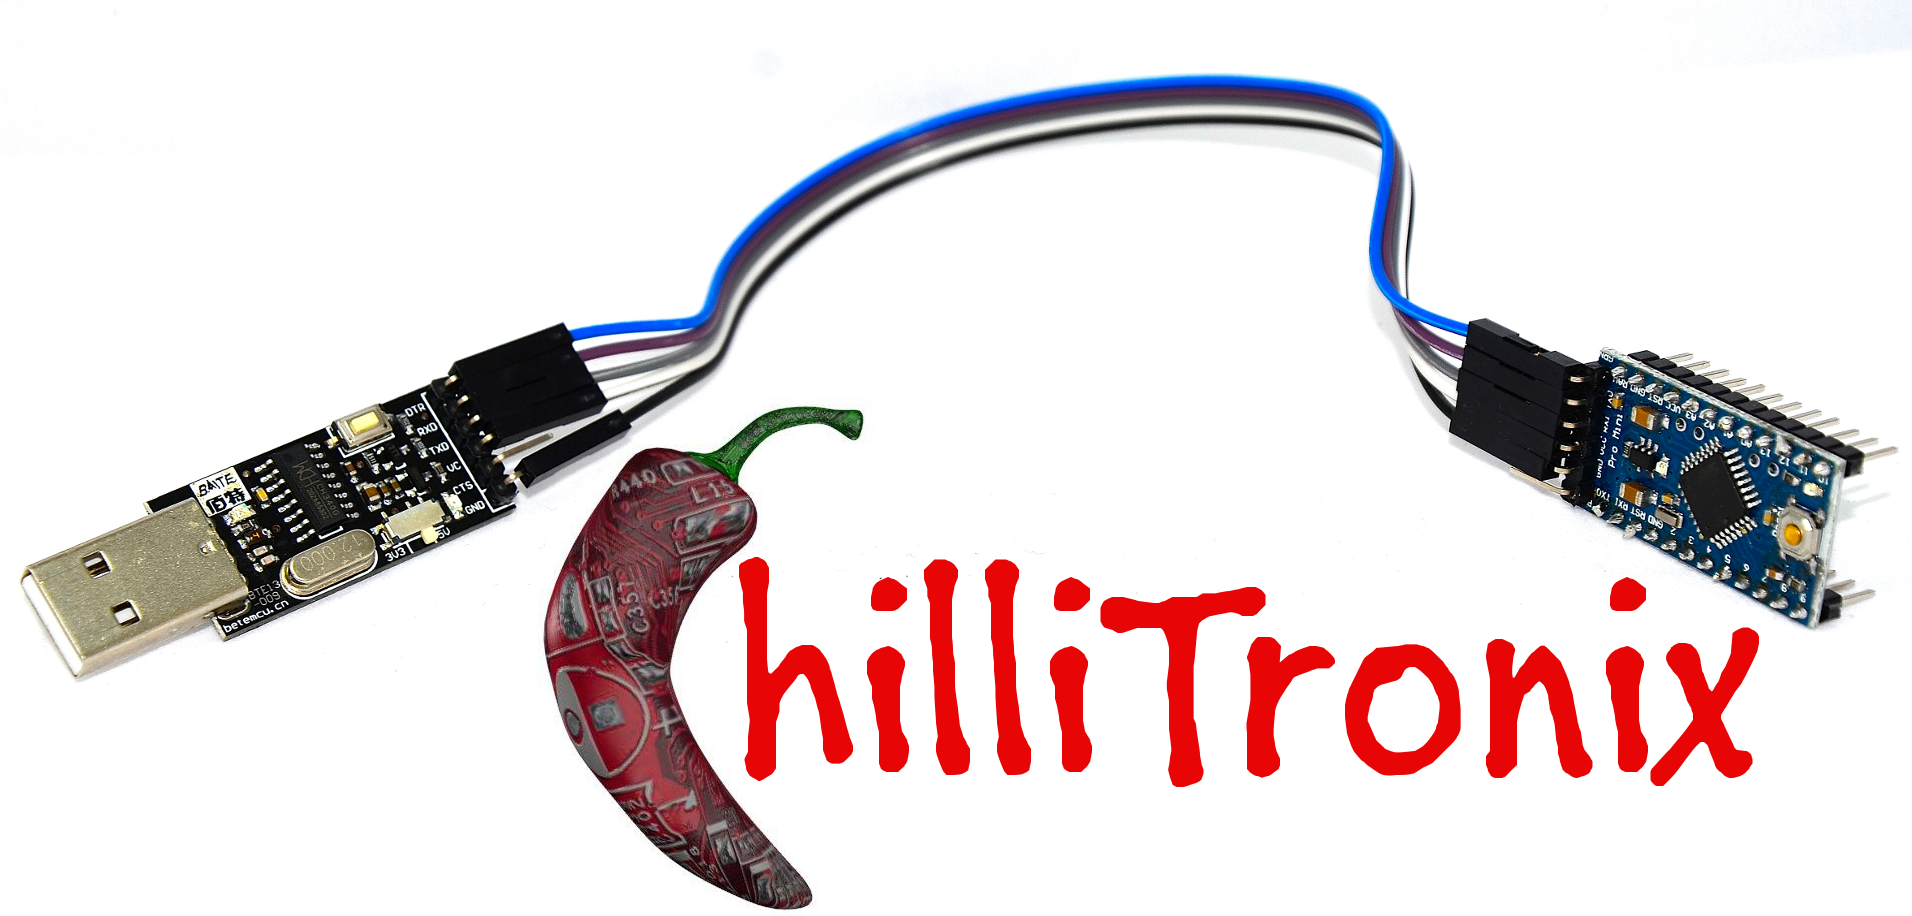
The CH340 has a six pin header on the opposite side to the USB connection, from the top in this picture they are:
- DTR (Data terminal ready)
- RXD (Receive data)
- TXD (Transmit data)
- VC (Power connector, switchable between 5V and 3.3V on the CH340)
- CTS (Clear to send)
- GND (Ground)
You only actually need to connect 4 of the wires, DTR, RXD, TXD and GND to get it to work but as it will happilly power an Arduino from the USB port of the host device this is normally connected as well.
Below is a picture of the Arduino Pro Mini.
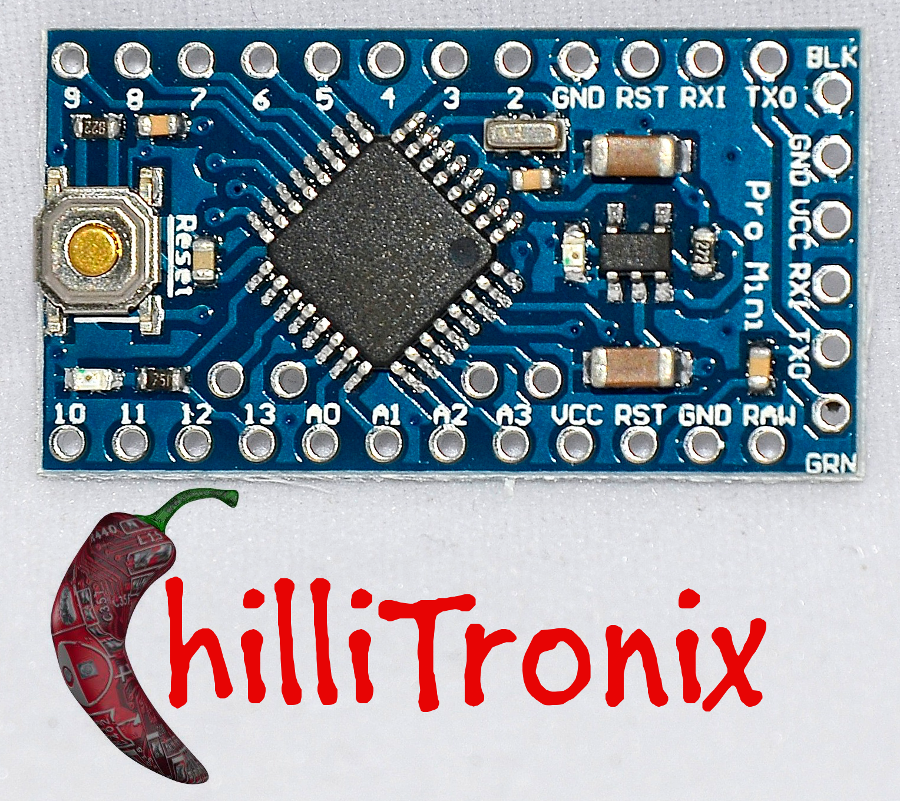
This would re reasonably clear but the board is actually so small it is hard to correctly label all the connections. In this picture the connectors for serial are on the right, the top one isn't used. Then we have:
- Not used (for serial communications)
- GND (Ground)
- VCC (Voltage in,
- RX (Receive data)
- TX (Transmit data)
- Unlabeled on the board, DTR (Data terminal ready)
You will note that you connect an RX line on one board to a TX line on another.